Assembly after injection molding: how a plastic product truly becomes a finished product
When a product is ejected from the injection molding machine, the production process is often far from over. Many plastic products consist of multiple parts that must be joined together after injection molding. In this blog, we discuss the various assembly methods, their pros and cons, and when to choose which method.
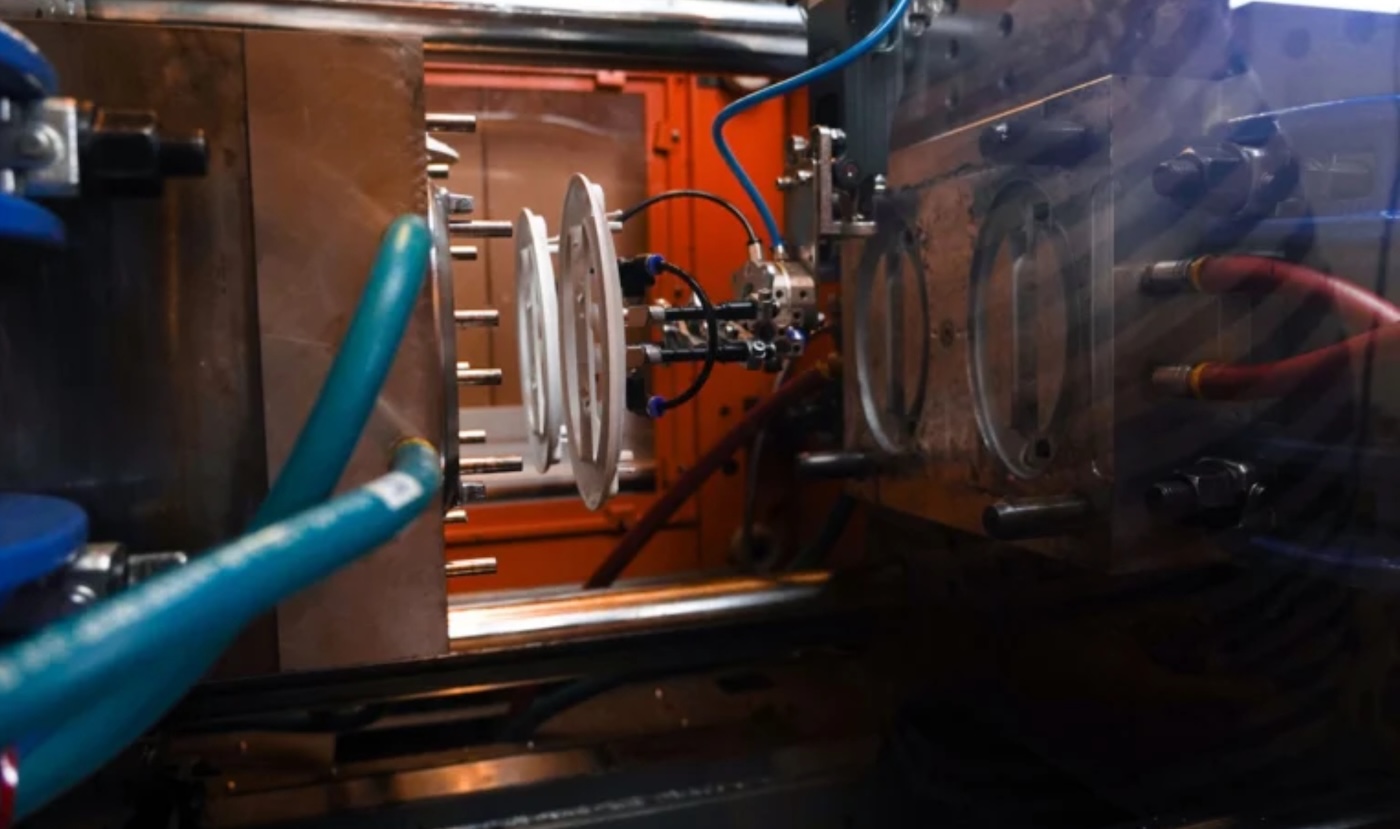
Inside view of an injection molding machine.
Summary
- Not every injection-molded product is immediately ready for use; many require assembly depending on design and functionality.
- Manual assembly is the most commonly used method and offers flexibility for complex products and smaller series.
- For applications with high hygiene requirements, such as medical products, cleanroom assembly is necessary.
- In-mold assembly integrates assembly into the injection molding process and is particularly efficient for high production volumes.
- By considering assembly as early as the design phase, costs, lead times, and errors can be significantly reduced.
Table of contents
When is assembly necessary?
Not every injection-molded product is ready for use as soon as it comes out of the mold. Some products consist of a single component, while others are built from multiple components or require extra elements. Whether assembly is needed depends on the complexity, functionality, and design of the product.
Ready immediately: single component products
Some injection-molded products consist of a single part and are ready for use as soon as the plastic has hardened. Examples include caps, lids, and simple plastic housings. Because these products consist of one component, further assembly is not required, making the production process fast and cost-efficient.
Products that do require assembly
Many other products consist of several parts or require additions that cannot be molded into the tool. Think of:
- A toothbrush (handle + grip)
- Screwing
- Inserts
- Metal parts
- Labels of strips
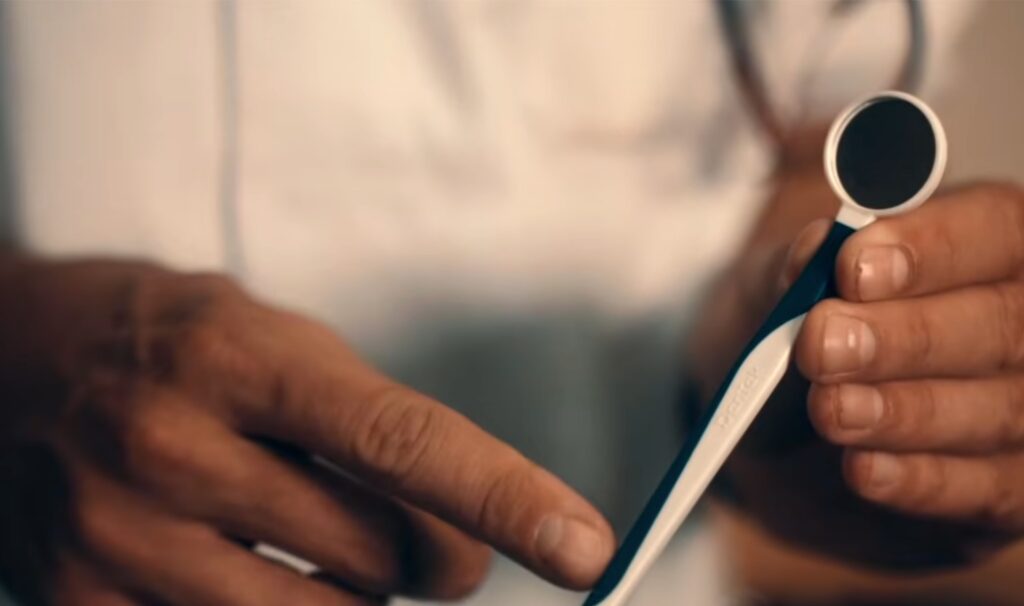
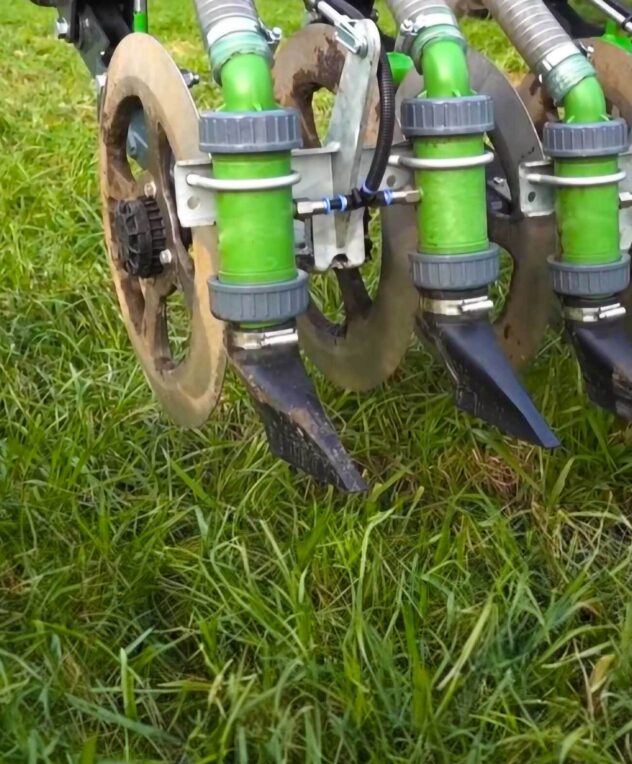
An example of a dental tool (handle + grip) that still requires assembly.
Assembly methods after injection molding
After injection molding, not all products are immediately ready for use. Depending on the design and functionality, additional assembly may be required, ranging from simple manual mounting to complex assembly with electronic or metal parts. The chosen assembly method has a major impact on costs, lead time, and product quality.
1. Manual assembly
Manual assembly is the most commonly used method after injection molding and offers a lot of flexibility. Parts can be joined directly at the production line or in a separate assembly room, which makes this approach particularly suitable for smaller series, complex products, or parts that require precise placement.
When do you choose an external assembly?
When a product must be combined with non-plastic parts or complex technologies, assembly at a different location is often more efficient.
Example
An injection-molded flashlight housing only becomes a complete flashlight once:
- The electronics are added
- Battery holders are placed
- Internal wiring is installed
- The lens and reflector are mounted
This requires extra production processes, such as:
- Electronic assembly
- Welding
- Screwing
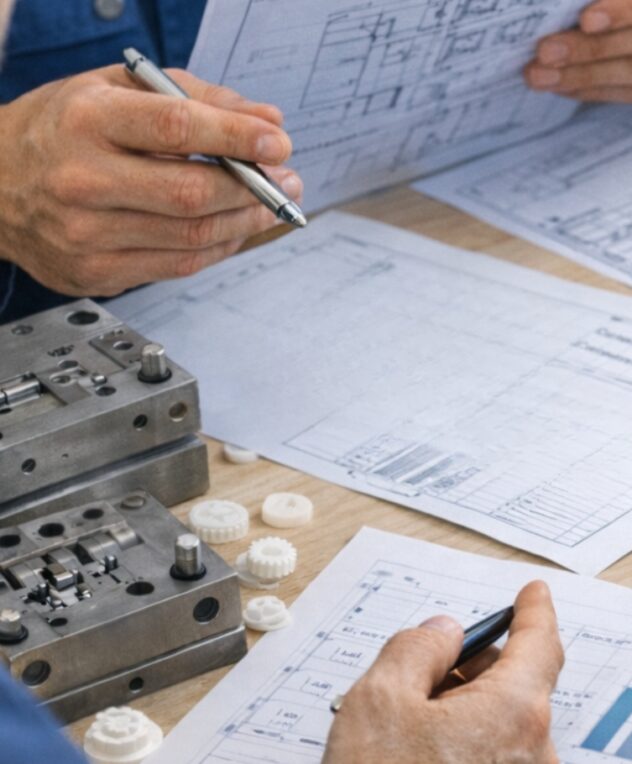
Why thinking ahead is important
Designing with assembly in mind can save a lot of time and costs. Smart designers create products where parts click together without extra fastening materials.
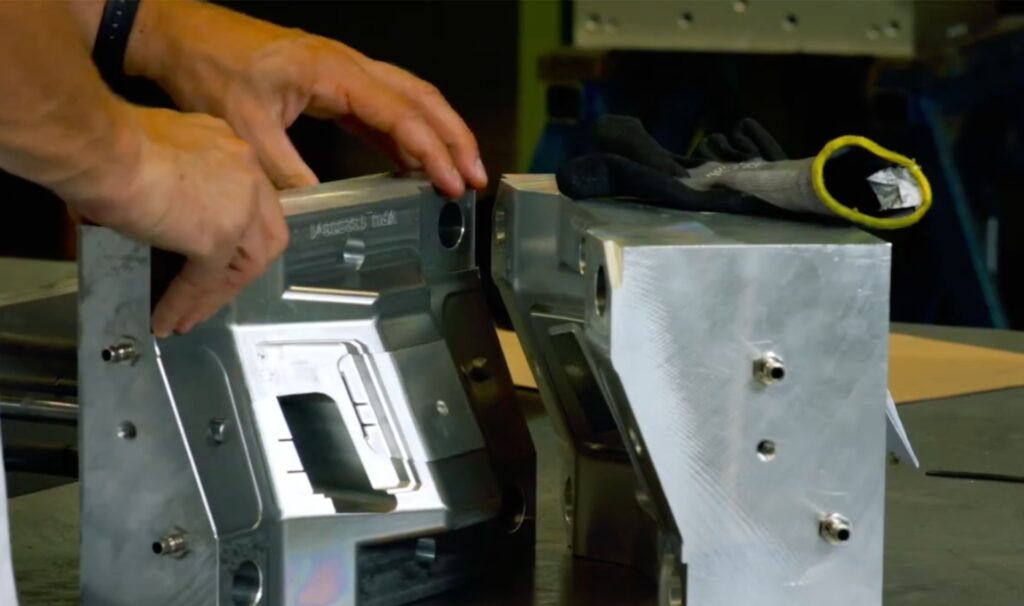
An example of manual assembly.
Important point
Think about how parts will be joined as early as the design phase. By using click connections, snap-fits, or self-positioning parts, you can avoid extra fasteners and assembly steps. This shortens production time, lowers costs, and reduces the chance of errors, especially in larger series.
2. Cleanroom assembly
For products where hygiene and reliability are crucial, standard assembly is not sufficient. Cleanroom assembly takes place in a strictly controlled environment, where dust particles, bacteria, and other contaminants are kept to a minimum. This makes this method indispensable for applications in the medical and laboratory sectors, among others.
When is this necessary?
During assembly, parts pass through many hands and rooms, which increases the chance of contamination. For certain products, this is unacceptable.
Typical cleanroom applications
Examples of products made in cleanrooms include:
- Medical components
- Syringes
- Diagnostic equipment
- Laboratory items
Cleanrooms provide a controlled environment where strict hygiene rules are followed to prevent contamination.
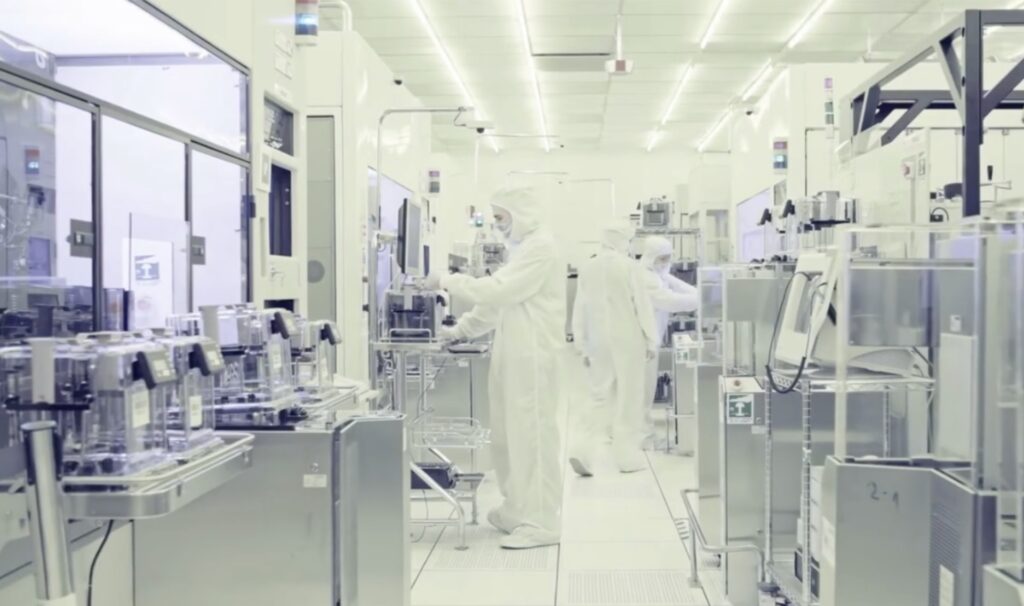
An example of cleanroom assembly.
3. In-mold assembly (IMA)
In-mold assembly (IMA) is an advanced production method where multiple parts are joined directly during the injection molding process. By integrating assembly into the mold, a more efficient process is created with fewer post-processing steps, leading to speed, accuracy, and consistent product quality, especially at high volumes.
Advantages
- Faster production
- More consistent quality
- Perfect alignment of parts
- Less chance of warpage or shrinkage errors
Disadvantages
- Higher investment costs (molds are 30–70% more expensive)
- Only profitable at high production volumes

An example of in-mold assembly.
How do you choose the right assembly method?
Choosing the right assembly method is crucial for quality, efficiency, and cost. Important factors include:
- Product complexity
- Number of components required
- Any additions (metal, electronics, labels)
- Required production volumes
- Quality and hygiene requirements
- Budget for molds and equipment
An experienced plastic product manufacturer helps determine the most cost-effective and efficient assembly strategy for your product.
Conclusion
Assembly is an essential part of many injection molding processes and largely determines the functionality, quality, and cost of the final product. By choosing the right assembly method and taking it into account during the design process, an efficient production process with a reliable and high-quality end result is achieved.
Do you need help choosing the right assembly method? Please contact our experts; they will be happy to assist you.
Want to have your product developed?
Do you have a product idea or want a quick price estimate? Contact us and we will assist you right away.