The steps of the injection molding process
Injection molding is the production method behind most plastic products used daily. From a simple toothbrush to a complex medical device: everything starts with an idea that is transformed step-by-step into a final product. In this blog, we discuss the most important steps of the injection molding process.
Summary
- Every product starts with a digital 3D design to prevent errors.
- A metal mold determines the final shape and quality of the product.
- The machine melts plastic granules and injects them into the mold under high pressure.
- With 2K molds, different materials can be combined in a single process.
- After injection molding, parts are assembled and neatly finished.
- Following the finishing stage, products are packaged and shipped worldwide.
Table of contents
1. Design and preparation
Everything begins with a solid plan and a digital drawing, in which the exact shape and dimensions of the product are established. Next, the appropriate material is selected, ranging from rock-hard to highly flexible plastic. Finally, the mold is manufactured: a metal tool that forms the basis for a perfect end product.
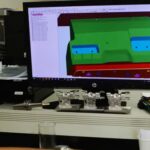
From sketch to 3D model
Every product starts as a rough sketch. Together with a partner like Orange Plastics, this idea is developed into a digital 3D design that perfectly aligns with the machine’s operation.
By optimizing the design in the early stages, problems such as burns or sink marks are prevented. This saves time and reduces waste.
Designing the mold
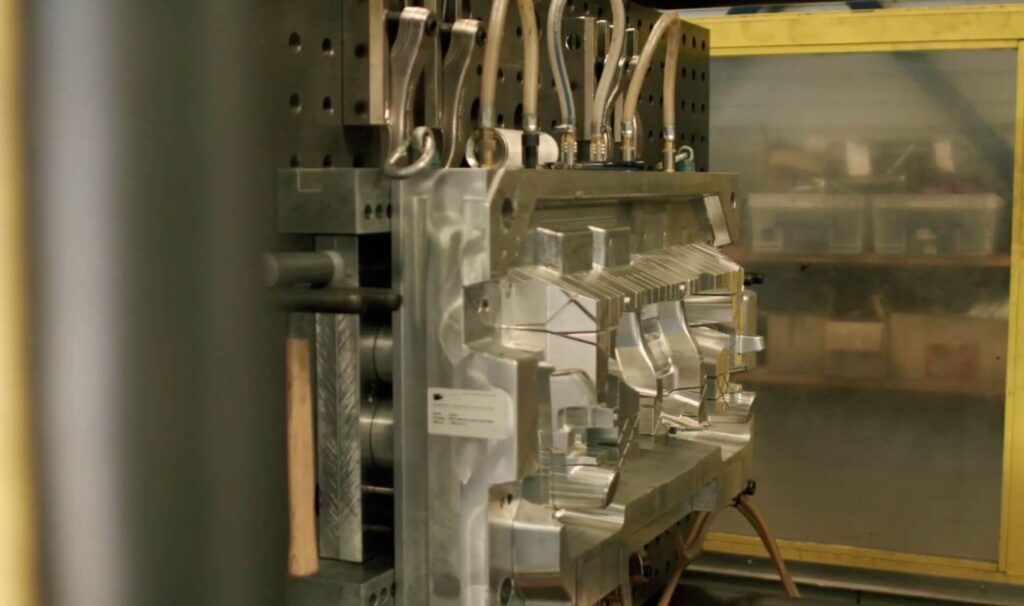
Once the design is ready, the creation of the mold follows. A mold is a metal tool that determines the product’s shape. The shape and design of the mold depend on the complexity of the product and the expected production volume.
An extra-strong mold is required if large quantities of products are being made, to ensure the products are of optimal quality.
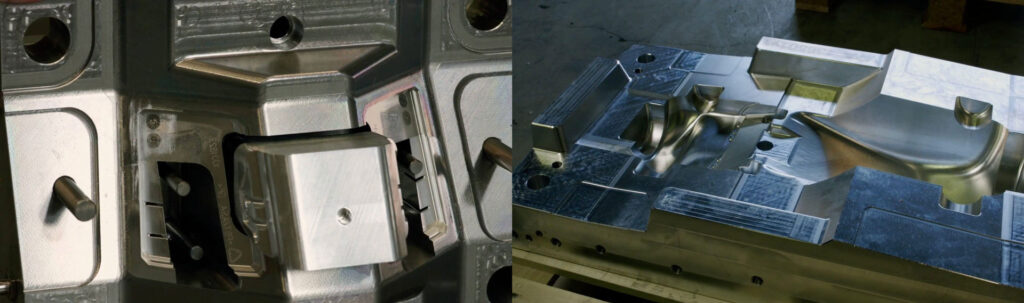
On the left, you see the shape of the mold; on the right, the technical components that will soon eject the product.
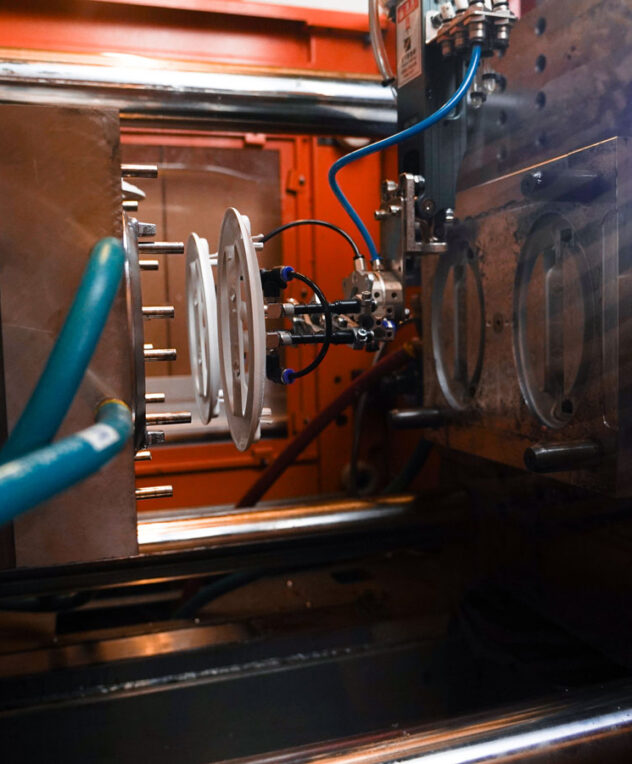
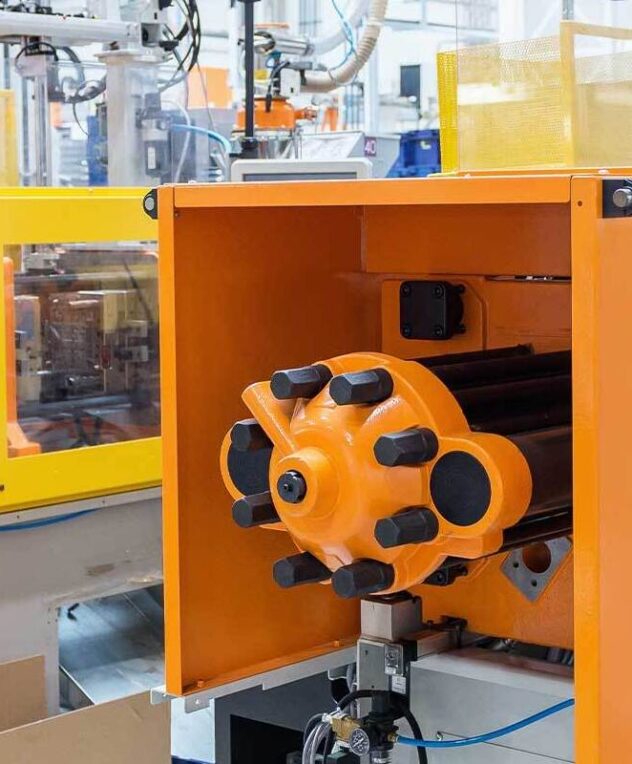
2. Production in the injection molding machine
Next, the machine goes to work. The mold is placed in the injection molding machine and is ready to be filled.
Small plastic granules are heated until they are liquid. This molten plastic is then injected into the mold under high pressure. Within seconds, the material cools down and solidifies. Then the machine opens the mold, and the product can be removed.
Complex products: 2K molds
Sometimes a product consists of different materials. In that case, 2K molds (2-component injection molding) are used. This allows two materials to be combined in the machine at once.
An example of this is a hard plastic toothbrush with a soft rubber grip. Additionally, plastic can be combined with other materials, such as glass, wood, or metal. Thanks to this technique, strong and smart products are created in just one process.
In the injection molding machine: the mold halves are powerfully pressed together before injection.
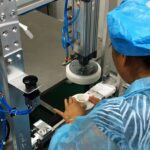
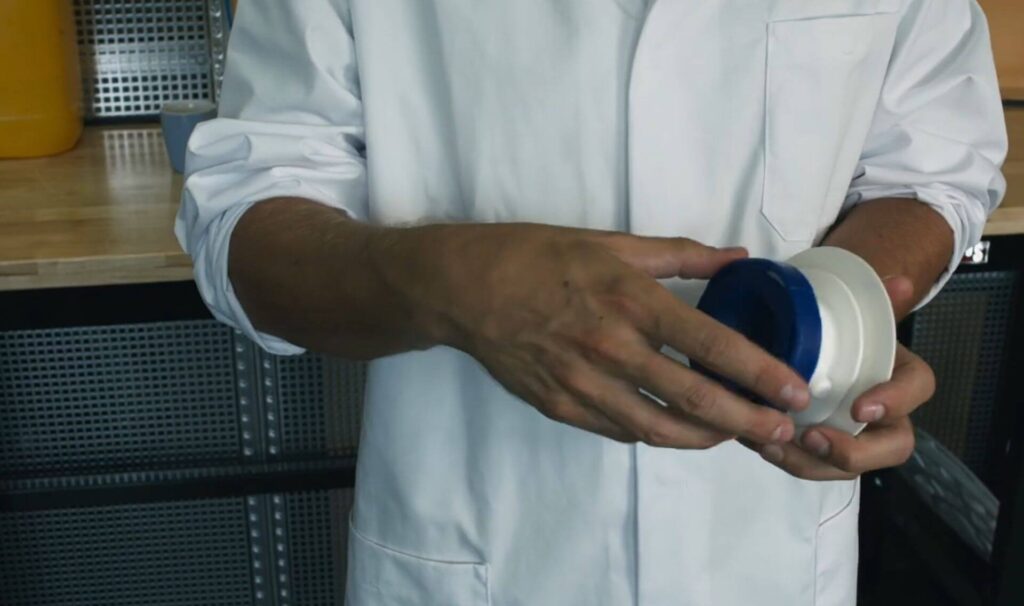
3. Assembly and finishing
After injection molding, the product is almost ready. Sometimes parts still need to be joined together. This is done by hand, by machine, or directly in the mold.
The product can also undergo additional processing. Think of applying a coating, a logo, or a code. These final steps ensure the product not only looks good but also functions optimally.
After molding, various parts are carefully assembled by hand into a single product.
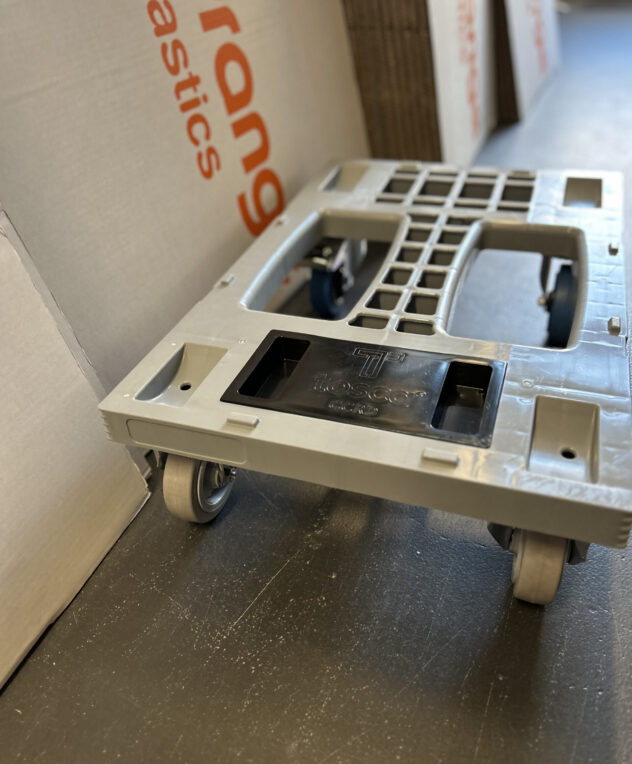
4. Packaging and distribution
Once the products are fully completed and checked, they are carefully packaged. Good packaging ensures that the products are not damaged during transport.
Subsequently, the boxes are prepared for shipment. The products go to warehouses or stores all over the world. This ensures the final product reaches the consumer safely and is ready for use.
Packaged plastic products are ready for shipment.
Conclusion
The injection molding process consists of four core steps:
- The design and preparation of the mold via digital 3D designs form the foundation.
- Liquid plastic is injected into the mold under high pressure.
- Parts are assembled and provided with details, such as a logo.
- Packaging and distribution ensure safe delivery to the consumer.
quickly and efficiently, often in combination with other materials and with high-quality finishes.
Need your product developed?
Do you have a product idea or want a quick price estimate? Contact us and we will assist you right away.